
Tutorial: How to add cheek pores!
✿ What you need?
- Photoshop and a good knowledge of the program. This tutorial doesn’t teachs how to use Photoshop and doesn’t provide it. You should already have it.
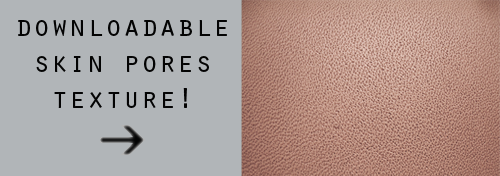
- My skin pores texture. It is made by me,please don’t reupload it and don’t claim as your own. I could decide to find you and kill you in a horrible way. DOWNLOAD HERE
✿ What you have to do?
That’s all! It’s actually very very easy to do. I hope you’ll find this tutorial nice and useful ^-^ Don’t esitate to send me a message if you have any trouble.
- Launch Photoshop,open your picture and the skin pores texture.
- Move the texture above your picture. You can also copy&paste.Then reduce the opacity of the texture at 30% (This is my choice,you could regulate the opacity as you prefer!)
- Adjust brightness,saturation and contrast of the texture,it should perfectly fit with the colour of your sim’s skin.
- Adjust the size of the texture. It depends on how big is your picture.
- Position the texture above the cheeks,then set the eraser to 25% opacity and 0% hardness (It should be very soft) and eliminate all the parts of the texture that you don’t need.
- Select the sharpening tool and add sharpness to the most important zones.
I used the tag “s3cc” because I included the texture,that could be considered as custom content :)
Categories:
tutorial
